
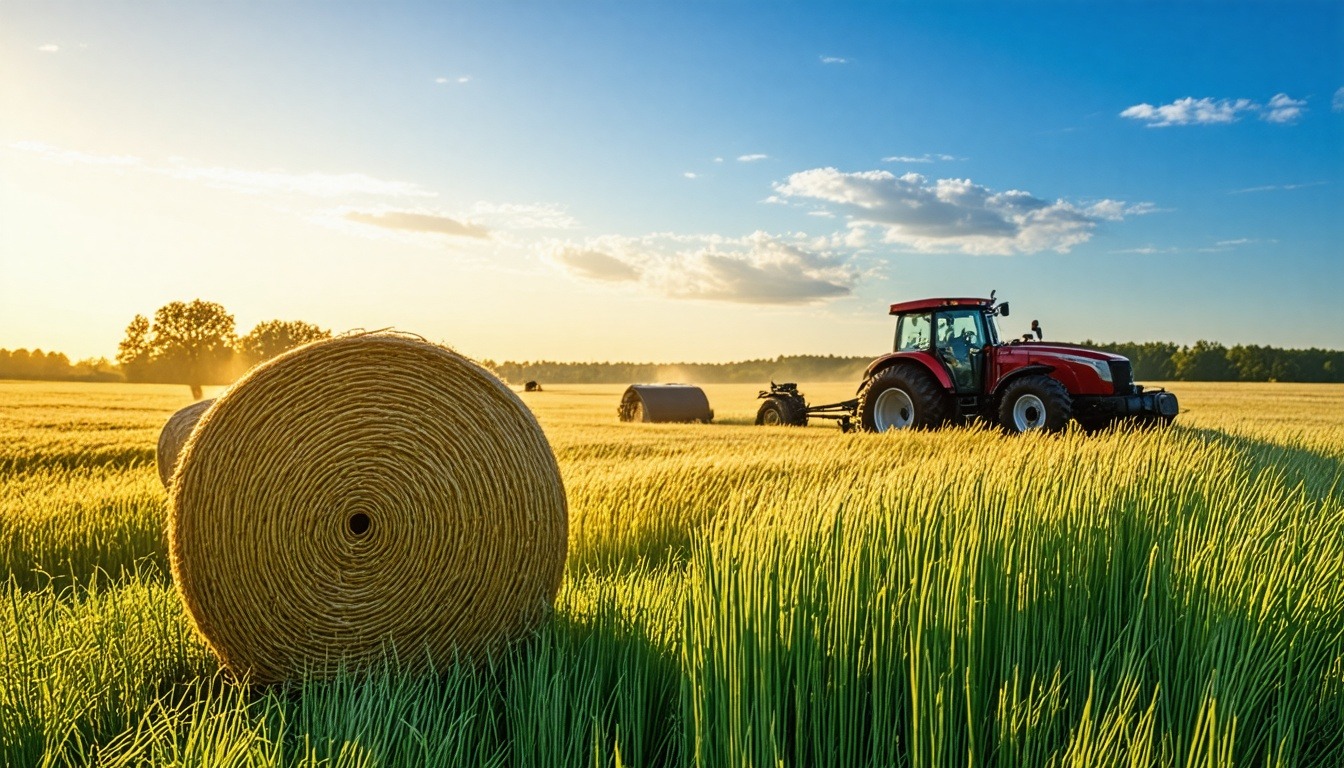
Hay is the backbone of livestock nutrition. It keeps animals healthy and productive. But preparing hay isn’t simple. You must do it right. Poor hay can cause health issues. It can also waste money. This guide covers everything. You will learn the best methods. We will talk about cutting, drying, baling, and storage. You will also learn about feeding. Let’s dive in.
Why Hay Preparation Matters
Hay provides essential nutrients. It is a primary food source for many animals. Proper preparation preserves those nutrients. It also prevents spoilage. Good hay reduces feed costs. It improves animal health. Poor hay can lead to diseases. for instance, moldy hay causes respiratory problems. It can also cause colic in horses. So, quality matters.
Hay preparation involves several steps. Each step affects the final product. You must time each step well. Weather plays a big role. You need the right equipment. Knowledge is also key. This guide will help you master each step.
Understanding Hay Types
Different animals need different hay. Common types include timothy, alfalfa, and orchard grass. Timothy is good for horses. Alfalfa has more protein. It is great for dairy cows. Orchard grass is palatable. It works for sheep and goats. Choose based on your livestock needs.
| Hay Type | Protein % | Best For |
|---|---|---|
| Alfalfa | 15-20% | Dairy cows, growing animals |
| Timothy | 8-10% | Horses, adult ruminants |
| Orchard Grass | 10-12% | Sheep, goats, horses |
| Bermuda Grass | 6-10% | Cattle, horses |
Each type has different growth cycles. Alfalfa grows in multiple cuttings. Timothy is a cool-season grass. Know your region’s climate. Then choose the right type.
Step 1: Cutting Hay at the Right Time
Timing is crucial. Cut hay when nutrients are highest. For grasses, cut at early heading stage. For legumes, cut at early bloom. This maximizes protein and energy. Cutting too early reduces yield. Cutting too late lowers quality.
Check the weather forecast. You need several dry days. Rain can damage cut hay. It leaches nutrients. It also promotes mold. Plan your cutting accordingly.
Use a sharp mower conditioner. This cuts cleanly and crimps stems. Crimping speeds drying. It also reduces leaf loss. Set the cutting height properly. Leave 2-3 inches of stubble. This protects the plant crown. It also helps regrowth.
Mower Types
- Sickle bar mower: Good for small fields. Leaves clean stubble.
- Disc mower: Fast and efficient. Handles heavy crops well.
- Rotary mower: Best for large areas. Can handle tough conditions.
Choose based on your field size and budget. A well-maintained mower ensures a good cut.
Step 2: Drying Hay Properly
Drying reduces moisture content. Hay should have 15-20% moisture for baling. Higher moisture leads to mold. Lower moisture causes leaf loss. Drying time varies. It depends on weather and crop density.
Spread the cut hay in wide swaths. This increases sun exposure. Use a tedder to fluff the hay. It speeds drying. Turn the hay if needed. But avoid overworking. Too much handling causes leaf shatter.
Check moisture regularly. Use a moisture tester. Or use the “feel” method. Squeeze a handful. If it feels dry and crisp, it’s ready. If it feels damp, wait longer.
“Proper drying is the most critical step. It determines hay quality.” – Experienced farmer
Tips for Faster Drying
- Cut in the morning after dew dries.
- Use wide swaths (at least 70% of cut width).
- Condition the hay to crack stems.
- Ted within 24 hours of cutting.
- Rake only when necessary.
Step 3: Raking and Windrowing
Raking gathers hay into windrows. This makes baling easier. It also allows further drying. Use a wheel rake or parallel bar rake. Wheel rakes are gentle. They reduce leaf loss. Parallel bar rakes work in heavy crops.
Rake when hay is at 30-40% moisture. This prevents leaf shatter. Rake gently to avoid soil contamination. Soil can introduce mold spores. It also reduces feed value.
Windrow shape matters. A narrow windrow dries slower. A wide windrow dries faster. For large bales, make a single windrow. For small bales, use multiple windrows.
Step 4: Baling Methods
Baling compresses hay for storage. There are two main types: square bales and round bales. Square bales are easier to handle. They stack well. Round bales are larger. They require less labor but more equipment.
| Bale Type | Weight | Storage | Best For |
|---|---|---|---|
| Small Square | 40-60 lbs | Indoor stacking | Small operations, horses |
| Large Square | 800-1500 lbs | Indoor/outdoor | Large farms, dairy |
| Round | 500-2000 lbs | Outdoor with cover | Beef cattle, sheep |
Bale at the right moisture. For square bales, aim for 15-18%. For round bales, 18-20% is okay. Use net wrap or twine. Net wrap sheds water better. It also reduces spoilage.
Baler Maintenance
Keep balers in good condition. Check belts and chains. Lubricate moving parts. Adjust tension for consistent bale density. A well-maintained baler produces uniform bales. This improves storage efficiency.
Step 5: Hay Storage Best Practices
Storage protects hay from weather. It also prevents nutrient loss. Store hay in a dry, well-ventilated area. A barn is ideal. If using outdoor storage, cover the top. Use tarps or plastic sheeting. But leave sides open for airflow.
Stack bales off the ground. Use pallets or gravel. This prevents moisture wicking. Leave space between stacks. This allows air circulation. It also reduces fire risk. Hay fires occur when moisture is too high.
“Good storage can extend hay life by years. It also preserves quality.” – Hay specialist
Storage Checklist
- Choose a dry location.
- Elevate bales from ground.
- Provide ventilation.
- Cover outdoor stacks.
- Monitor temperature.
- Rotate older hay first.
Step 6: Testing Hay Quality
Testing tells you nutrient content. It helps balance rations. Send a sample to a lab. They analyze protein, fiber, and minerals. Use a hay probe to sample. Take cores from multiple bales. Mix them for a representative sample.
Key metrics include:
- Crude Protein: Essential for growth and milk.
- Acid Detergent Fiber (ADF): Indicates digestibility.
- Neutral Detergent Fiber (NDF): Affects intake.
- Relative Feed Value (RFV): Overall quality index.
Use results to adjust feeding. for instance, add grain if protein is low. Or supplement minerals if deficient.
Step 7: Feeding Hay to Livestock
Feeding methods affect waste. Use hay feeders to reduce spoilage. For round bales, use a ring feeder. For square bales, use a rack. Place feeders in dry areas. Move them regularly to avoid mud.
Feed hay according to animal needs. Horses need 1.5-2% of body weight per day. Cattle need 2-3%. Sheep and goats need 3-4%. Adjust based on activity and life stage.
Monitor hay intake. Overfeeding wastes hay. Underfeeding causes weight loss. Use body condition scoring. It helps assess if animals are getting enough.
Avoiding Common Feeding Mistakes
- Don’t feed moldy hay.
- Don’t feed hay with weeds.
- Don’t change hay suddenly.
- Don’t feed on the ground.
- Don’t overfeed.
Special Considerations for Different Livestock
Horses
Horses need high-fiber hay. Timothy is a top choice. Avoid alfalfa for easy keepers. It can cause obesity. For performance horses, alfalfa provides extra energy. Always provide clean water.
Dairy Cows
Dairy cows need high-protein hay. Alfalfa is excellent. It boosts milk production. Feed in combination with silage. Balance with grains for energy. Ensure consistent quality.
Beef Cattle
Beef cattle can eat lower-quality hay. They are less picky. But still need adequate protein. Supplement with protein blocks if needed. Use round bales for efficiency.
Sheep and Goats
Sheep and goats prefer fine-stemmed hay. Orchard grass is good. Avoid coarse hay. It can cause choking. Use hay nets to reduce waste. Provide minerals separately.
Troubleshooting Hay Problems
Hay problems include mold, dust, and weeds. Mold occurs when hay is too wet. It appears as white or gray powder. Dust comes from over-dried hay. It causes respiratory issues. Weeds reduce feed value.
To prevent mold, bale at correct moisture. Store in dry conditions. If hay gets wet, discard it. For dust, add a little water before feeding. But not too much. For weeds, control them in the field. Use herbicides if necessary.
Another common issue is heating. Hay can heat if moisture is high. This can lead to fire. Monitor bale temperature. If it exceeds 130°F, take action. Spread bales apart. Cool them down.
Economic Considerations
Hay production costs money. You need equipment, fuel, and labor. But good hay saves money on supplements. It also improves animal performance. Calculate cost per ton. Compare to buying hay. Often, making your own is cheaper.
Consider selling excess hay. It can generate income. But ensure quality. Market demands high-quality hay. Test and advertise accordingly.
Environmental Impact
Hay fields provide habitat. They reduce erosion. They also sequester carbon. Sustainable practices improve soil health. Rotate fields to prevent nutrient depletion. Use cover crops when possible.
Minimize waste. Spoiled hay contributes to methane. Proper storage and feeding reduce waste. It’s good for your wallet and the planet.
Advanced Techniques
Some farmers use haylage. It is fermented hay. It has higher moisture. It is stored in bales wrapped in plastic. This preserves nutrients. It works well in wet climates.
Another method is hay compression. It reduces volume for transport. But it requires special equipment. It isn’t common for small farms.
Conclusion
Preparing hay is both an art and a science. It requires attention to detail. But the rewards are great. You get high-quality feed. Your animals stay healthy. Your farm becomes more efficient.
Remember the key steps: cut at the right time, dry properly, bale correctly, store well, and feed wisely. Test your hay to know its value. Adjust your methods based on results.
With practice, you will improve. Your hay will get better every year. Start applying these tips today. Your livestock will thank you.



Leave a Reply